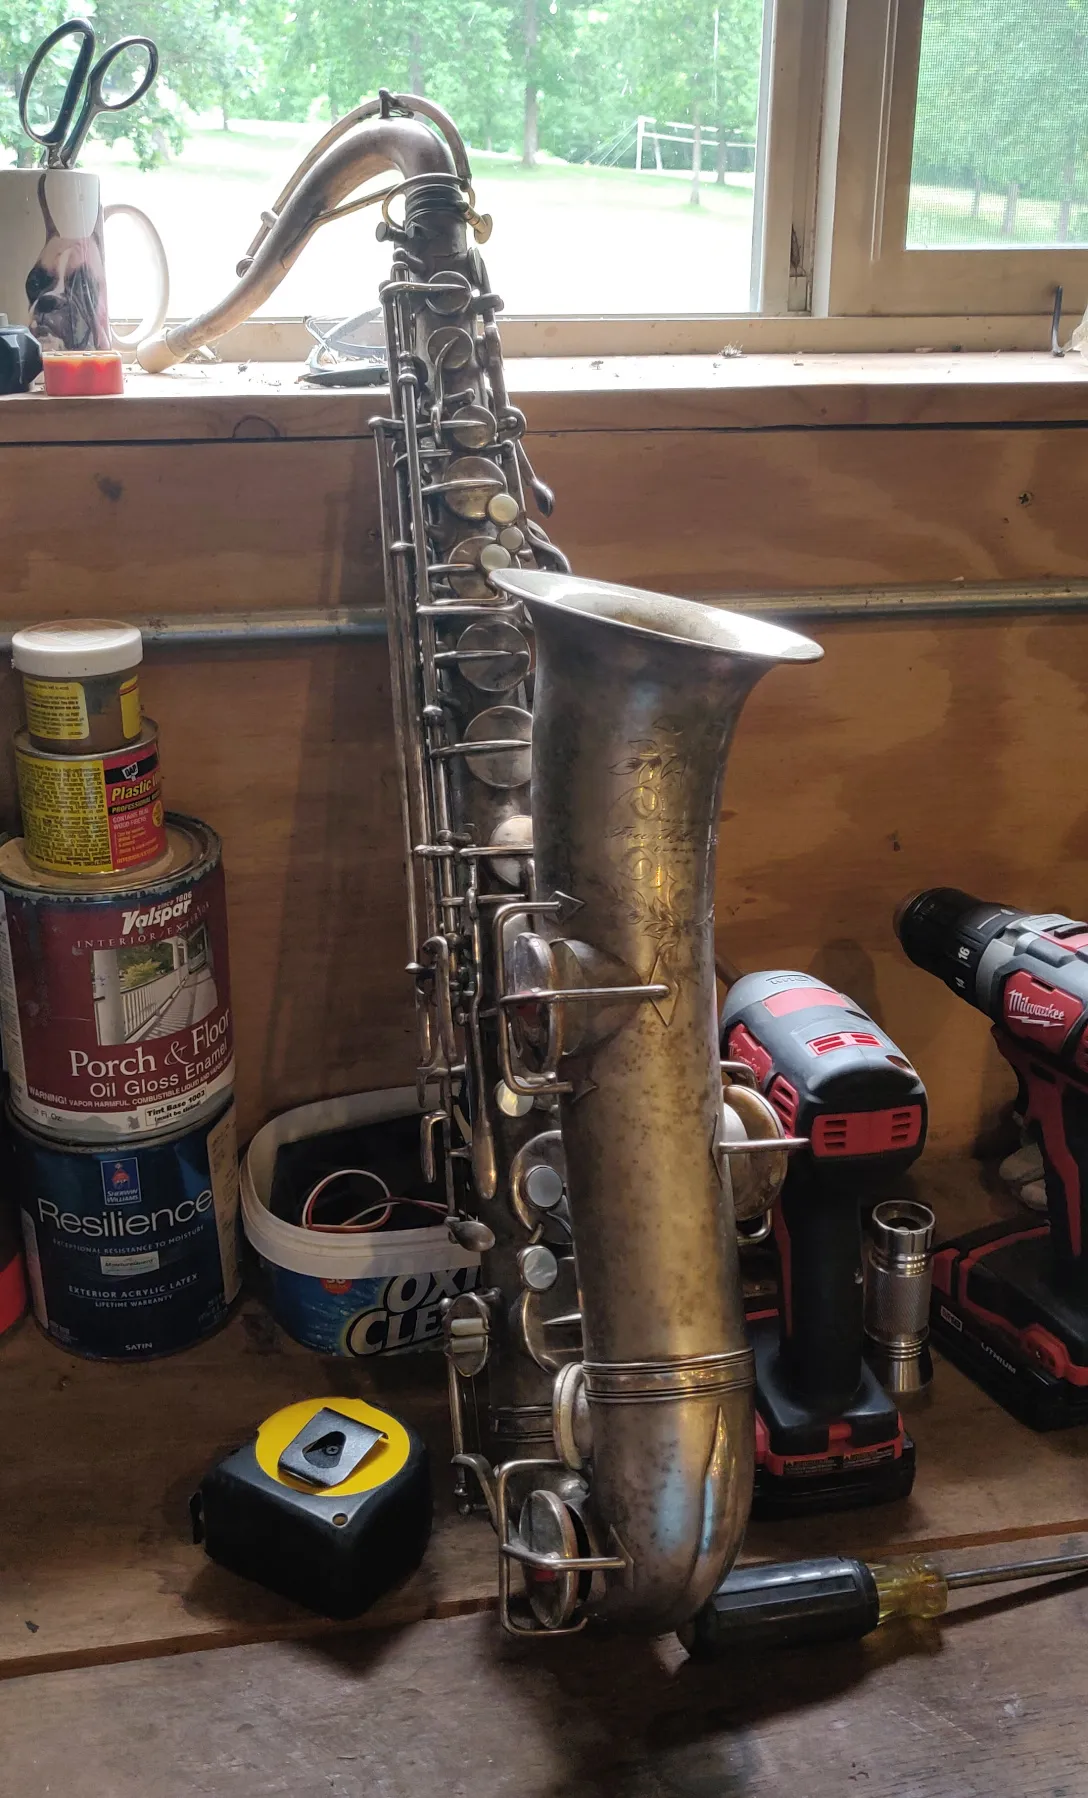
The saxophone in question is a 1914 Holton C-melody saxophone in a nickel finish. From the picture, you can tell that this saxophone has seen better days. The finish is tarnished, all the pads are shot, and what little sound it does make when played is far from majestic.
I had never done saxophone repair before, but I had played saxophone for many years in middle/high school so how hard could it be?
I started by removing all the pads and rods from the saxophone. If I was to clean this saxophone well, I was going to need to be able to easily access all of its surfaces.
Once all the exterior mechanisms were removed, I tried to clean the sax with a rag, hot water, and soap. This mixture turned out to be ineffective against the years of dirt that had collected. I tried vinegar and mineral spirits as well to try and break through the thick dirt, but to no avail. After trying standard cleaning techniques, I turned to using Maguiar’s ScratchX 2.0, a paste used to take scratches out of motor vehicles. It worked great! The fine grit used to buff out scratches was enough to cut through the dirt without visibly ruining the finish of the saxophone. Though, just because it cleaned the sax well didn’t mean that the cleaning process was going to be easy.
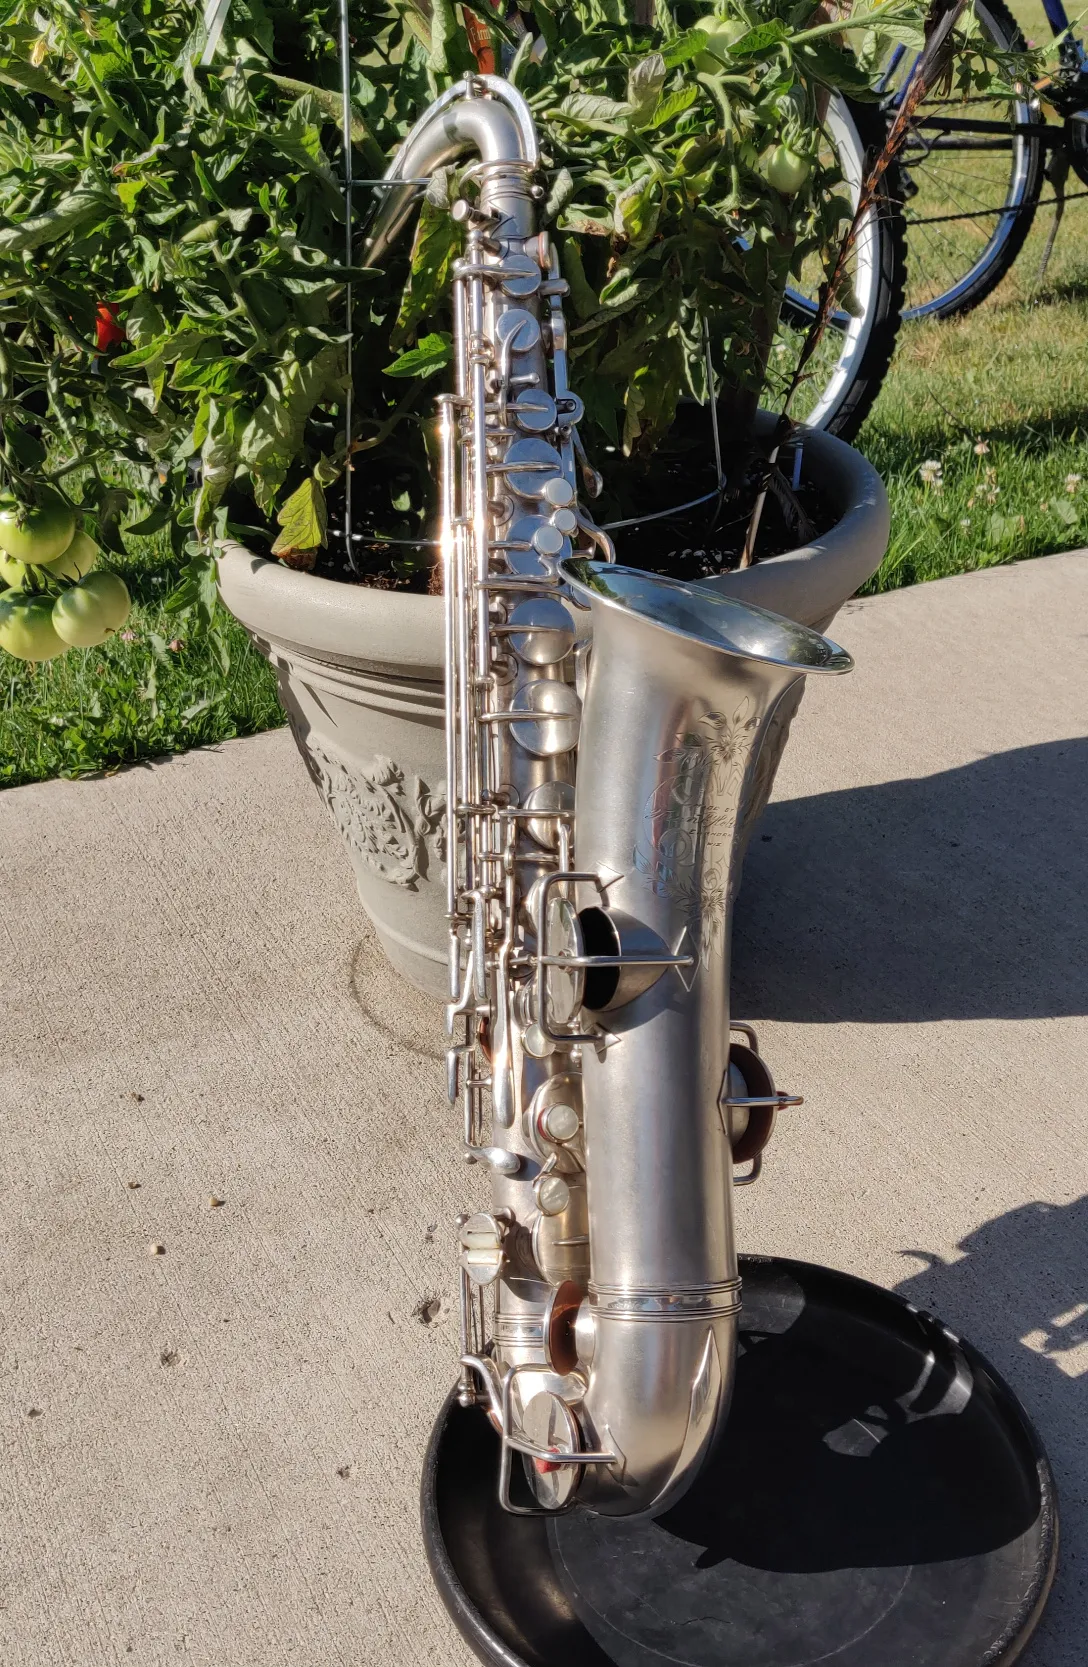
After a couple of hours of cleaning, and about 200 Q-tips later, the sax looked almost new (as new as a 100 year-old saxophone could look). I never could have imagined it looking this great!
Now that the sax was cleaned up, it was time to re-pad the keys.
Again, I had never done any self-repairs on any saxophone, other than maybe gluing a loose pad back in place using cringe-inducing tactics, so this was going to be interesting.
I watched a video on YouTube in which an older fellow was using an oil lamp to melt shellac onto the key and then pressed the pad into the hot shellac before it cooled.
So without consulting any other resources I proceeded by grabbing a small candle belonging to my mother and started melting shellac into the keys one-by-one, followed by the firm pressing of the pads into said keys. The process wasn’t too complicated, though it became difficult when handling small or oddly-shaped keys.
Overall, the padding process went well. It was now time to reassemble the saxophone. I didn’t take any reference pictures prior to disassembling the saxophone, for I had my main saxophone to use as a guide for any issues I would encounter.
After an hour or so of reassembly, I gave up on assembling the upper portion of the sax. The upper assembly involves piecing together the key cups on shared rods and there’s a certain order of assembly necessary to complete the process. After sleeping on the project, I pieced together the upper assembly without sweat.
Now that the saxophone is assembled, it will require minor adjustments such as pad leveling and recorking to be considered a playable instrument. While I could include these steps in this blog, they are quite uninteresting and the information regarding these processes can easily be found on the web.
Overall, this was a fun little project. I never thought this saxophone would ever look this good! If you’re interested in the history of C melody saxophones, (because they’re a dying breed) check out this page!